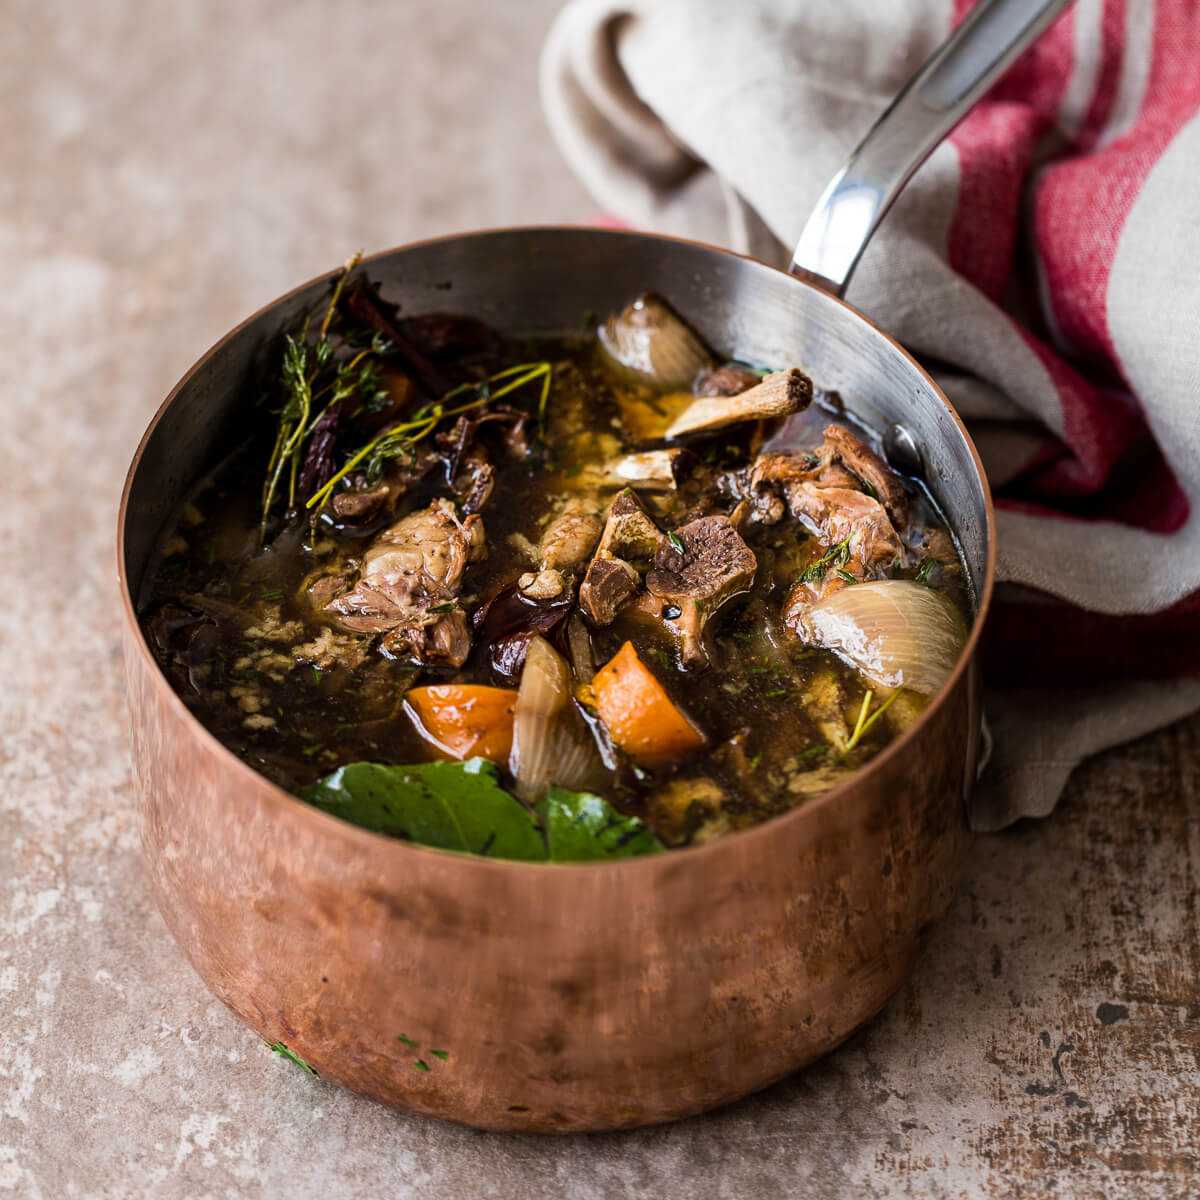
Bone Broth Recipe
Bone broth is one of the most wonderful things to make yourself. Every time I made a batch at home I found it not only delicious and nourishing but also hugely rewarding and satisfying to know I was using an ingredient that might have otherwise been thrown away or worse incinerated to avoid expensive waste removal and landfill. Bones, despite the sometimes gruesome or morbid imagery they can sometimes conjure; are a hugely untapped source of nutrition.This recipe is for around 1 litre of broth, but you can certainly increase this depending on your volume of bones and the size of your cooking vessel. See what capacity you have, but a large saucepan as a rule of thumb normally caters for 1kg bones and 1-1.5 litres of water. However big stock pots can take a lot more! So use the real estate if you have it available.For more tips, check out our blog, How To Make Bone Broth.
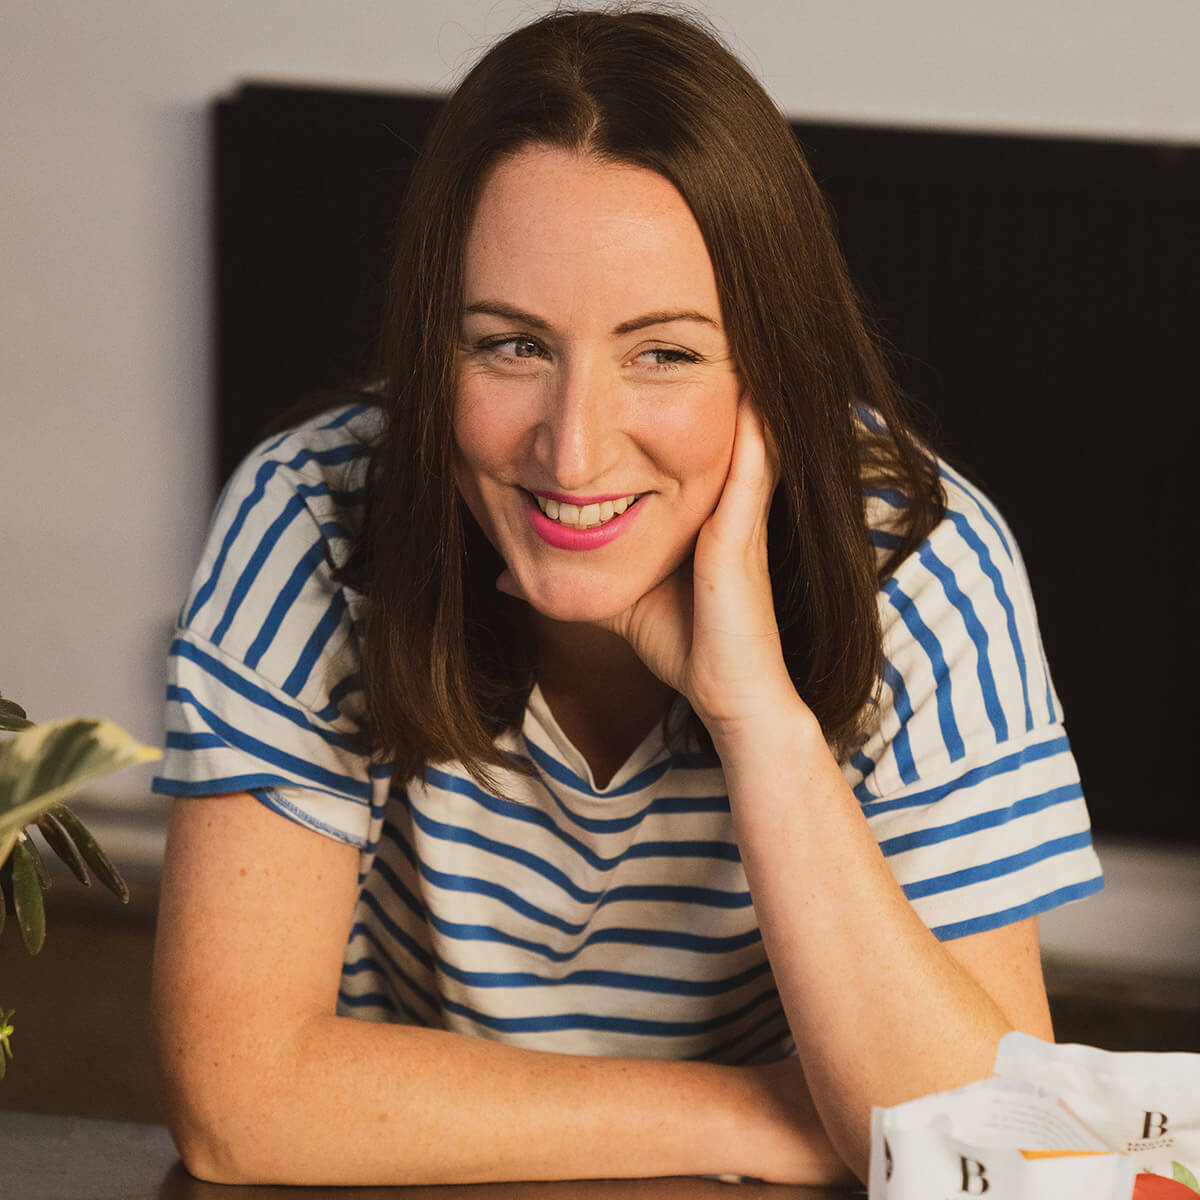
Written by
Ros Heathcote
Serves: 3-4
Cooking time: 10-30 hours
Ingredients:
1kg organic bones (each meat has a different flavour, but all will work, please try to obtain organic bones or at the very least free range and if beef or lamb – grass-fed is also preferable)
2 medium carrots, quartered, skin on
2 medium onions (red or white), halved, skin on
* 2 stalks of celery, quartered
1-1.5 litres filtered water (spring water is even better)
2 tbsp apple cider vinegar, with the mother
2 sprigs fresh thyme
2 bay leaves
1 tsp himalayan/sea salt
1 tsp organic black peppercorns
Method:
- If you plan to roast your bones, preheat the oven at 200/180 (fan). Distribute the bones evenly across one or two roasting tins.
- Roast the bones for no more than 30 minutes. You want the outside of the bones to be browned but you don't want the bones to be fully roasted throughout as you want the marrow to be kept intact prior to cooking in water.
- Place the chopped vegetables in the slow cooker/large saucepan.
- Scatter the herbs, seasoning and apple cider vinegar and place the raw or roasted bones into the pan. Try to ensure the bones are not sticking out higher than the lip of the pan so a lid can fit on comfortably.
- Top up the pan with water. Try to ensure the contents are just covered with water. So I estimate around 1-1.5 litres should do it.
- Turn up the heat until the broth is boiling. Let it boil for around 5 minutes.
- Turn the heat down to the lowest setting. On a slow cooker this is easy, but on a hob I'd select the smallest burner/hob ring and turn the heat way down so it's barely simmering. You can often see but try to make a note of where the water line hits so you can see how much it's reducing by.
- Put the lid on and leave it. Check after 3 hours initially to see how much the liquid is reducing. If it's reduced by more than 1/8 it's still too hot. You will get a handle on this once you've done it a couple of times. But on the flip side make sure the pot is still hot. The broth should be too hot to drink from the pan immediately. If you have a thermometer you want it at about 80-85 degrees for the long haul.
- Every few hours and before straining use a slotted spoon to skim any scum from the top.
- For Fish broth, 6-8 hours should suffice, Chicken 12-24 hours, Beef 24-48 hours. If you can achieve the maximum cooking time then I'd recommend you do so you get the very most out of them. Some people also like to reuse their bones. I only ever cook them once, but you might find you can get some more yield out of them, but have a play around.
- Once ready, find a large, clean vessel to strain the broth into. Use a fine mesh strainer pour the broth into the vessel and allow to cool for around an hour.
- There will be a layer of fat on the top, and depending on the meat and type of bone, the fat content will vary. You can either allow the fat to settle to the top, and separate it with a spoon into another vessel (it will be visibly clearer than the rest of the broth underneath). Whatever you do, don't throw the fat away! It's a brilliant fat to use for cooking. If you want to chill the broth with the fat all together. It actually seals the broth nicely making it last that bit longer.
- Make sure the vessel is suitable for fridge/freezer storage. The broth will last up to 6 months in the freezer or 7 days in the fridge. To extend the life of the broth you can always bring it to a quick boil and chill again if you want to add another couple of days on.
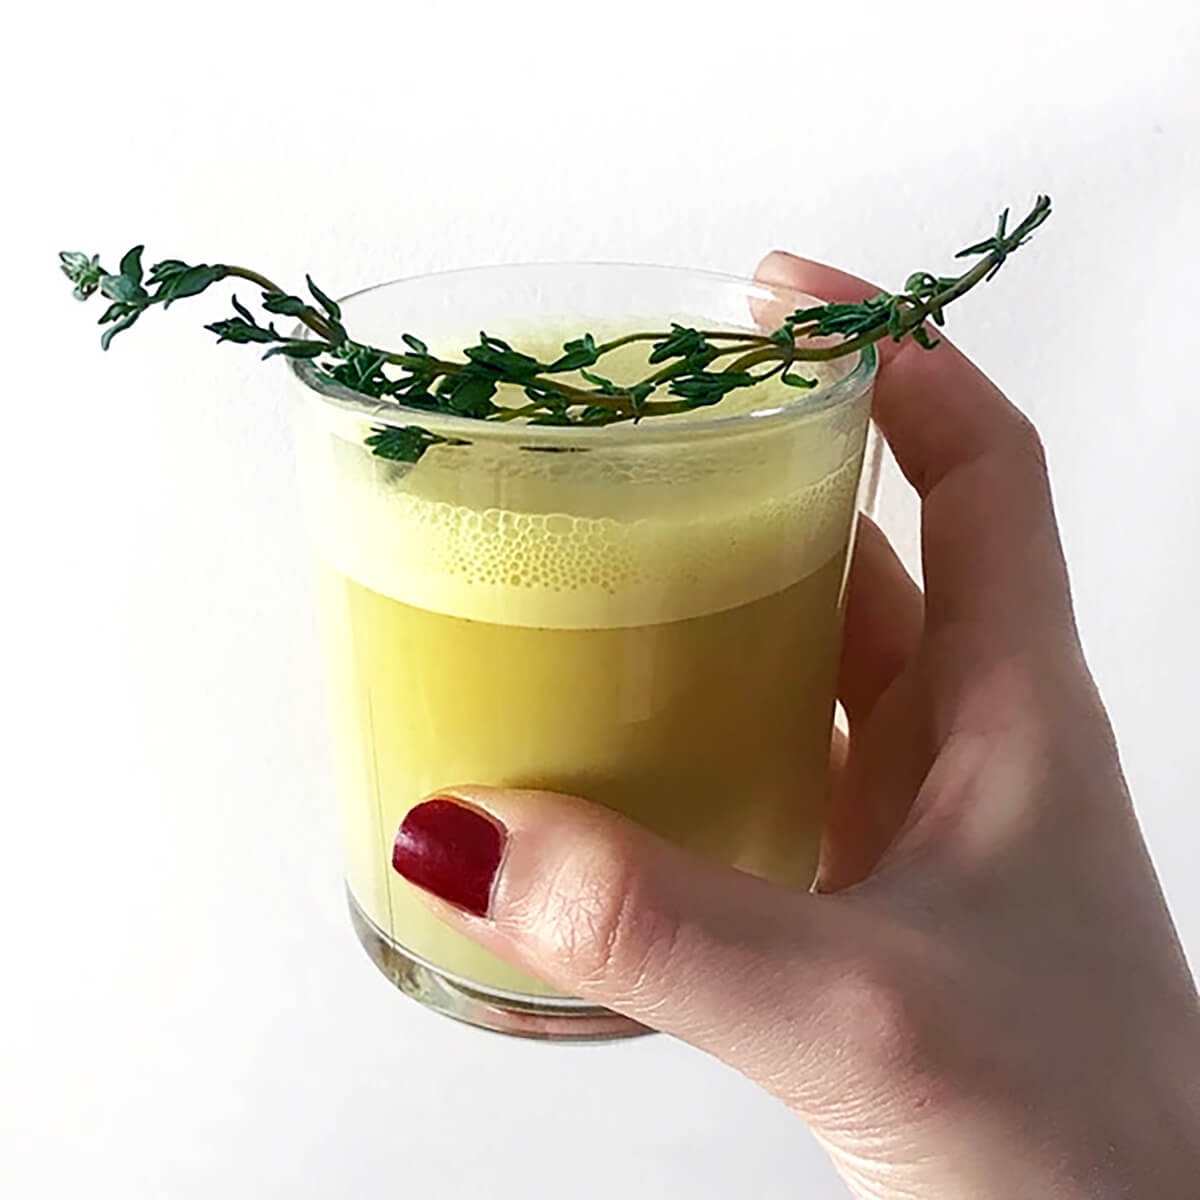
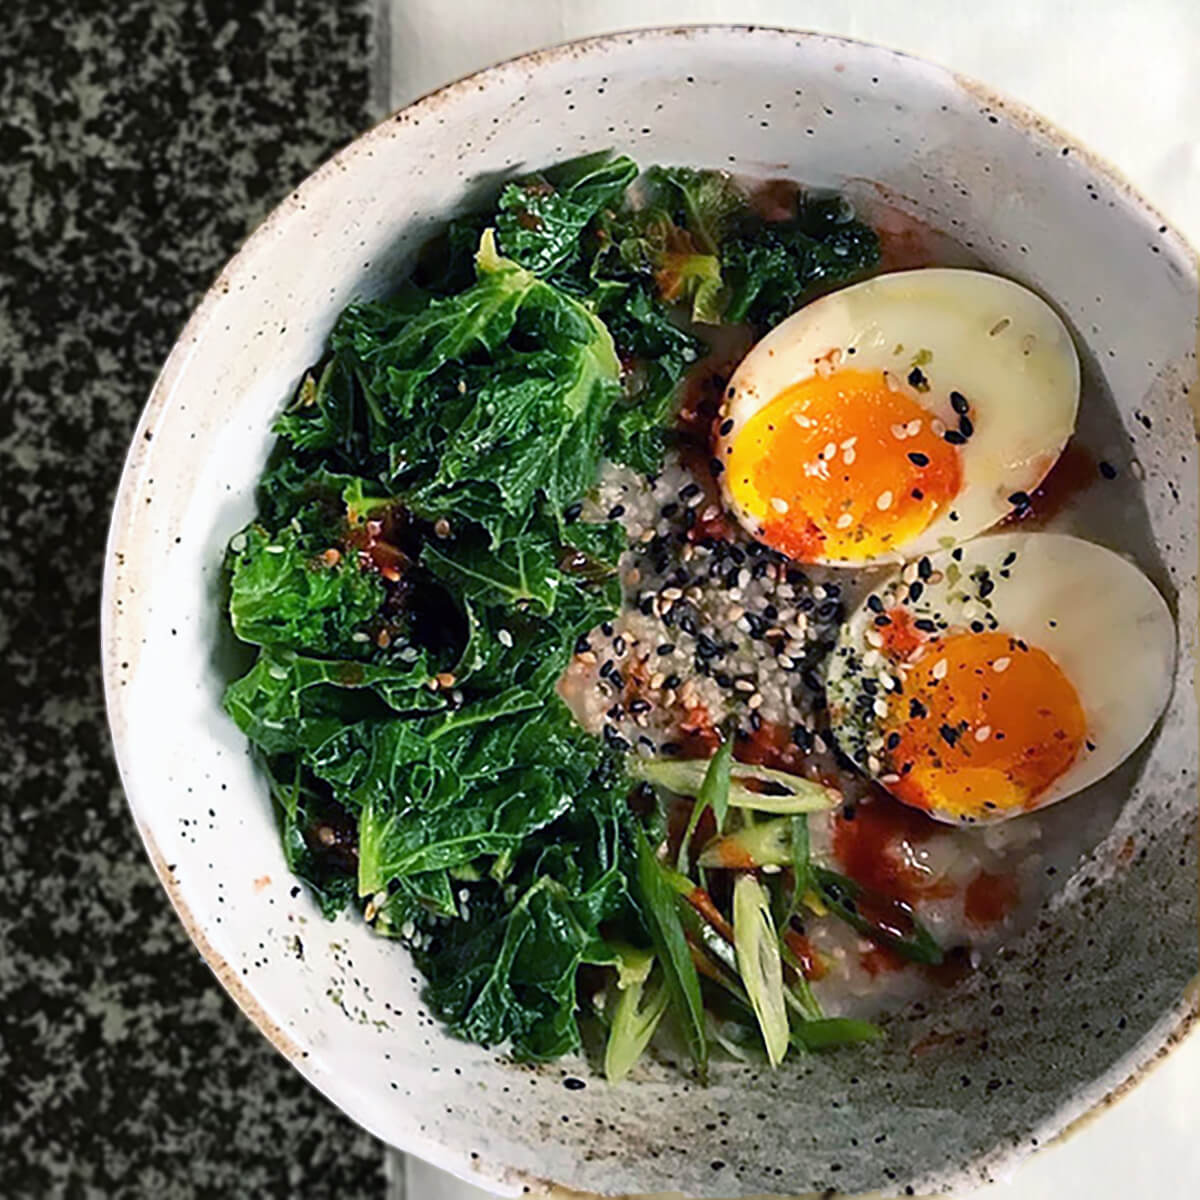
- I'd recommend drinking the broth with the fat removed, or even better just use it in cooking. We have plenty of recipe suggestions on the blog here.
More Like This
Other delicious recipes featuring ...